Making a Bobbin Frame with Geneva Vanderzeil

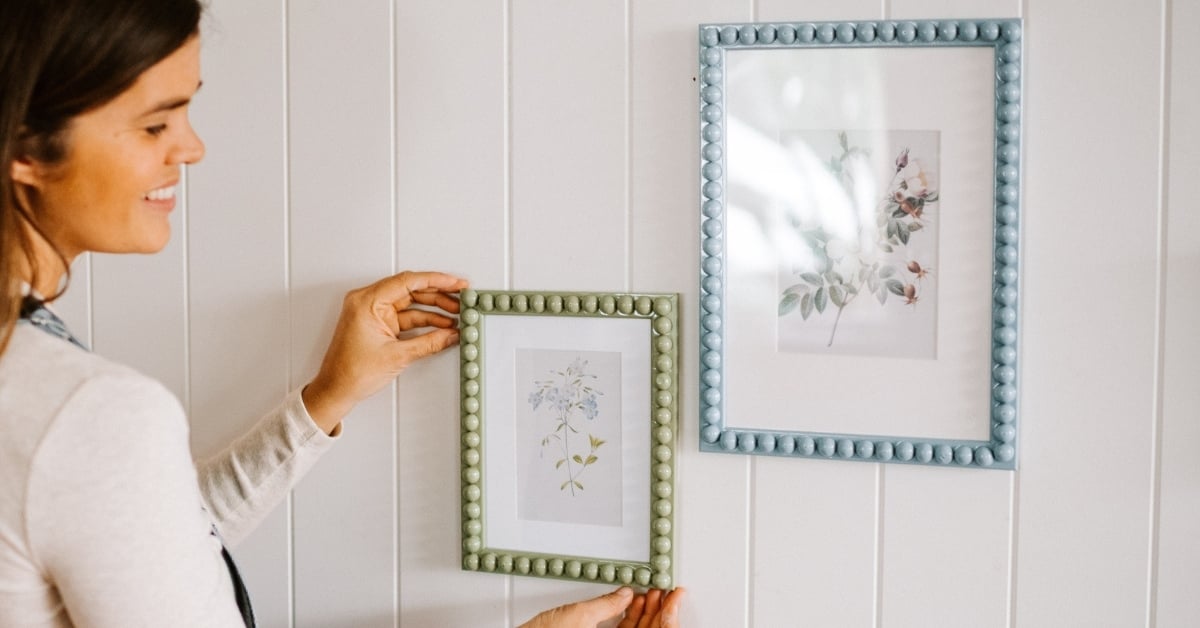
I seriously love up-styling photo frames to really make my art pop. This little bobbin frame is really easy to make and a great addition to an interior including your lounge and even a child’s bedroom.
To make Bobbin Frame, you will need:
- Second-hand frame
- Half wood balls
- All-in-one glue, sealer and varnish
- Gloss spray paint
- A print or photo to go in the frame
Approximate time: 1 hour
Difficulty: Easy
The project step by step
Step #1 –Take the wooden half-balls and glue them onto the frame using a product such as Mod Podge. You want to go down one side and along the other. Try to stick them down quickly so that you can move them if needed. The half-balls may need some squeezing to fit them all in but it looks great when finished.
Step #2 –Take some gloss spray paint in whatever colour you like and cover the whole frame. You may have to do a few coats. Don’t forget to remove the glass before spraying.
Step #3 – Put the glass back into the frame. The next step is to put in your favourite artwork and hang them on the wall. I’ve gone with some beautiful botanicals.
How easy was that? Honestly, these frames look so cute! I love that you can do these any colour to match the décor of your space.
You can see the video of this project’s step-by-step here. And for more inspiration, DIY projects and styling tips, don't forget to follow our Instagram account!
DISCLAIMER - The information provided is for guidance and informational purposes only and does not replace independent business, legal and financial advice which we strongly recommend. Whilst the information is considered true and correct at the date of publication, changes in circumstances after the time of publication may impact the accuracy of the information provided. LJ Hooker will not accept responsibility or liability for any reliance on the blog information, including but not limited to, the accuracy, currency or completeness of any information or links.
Share


